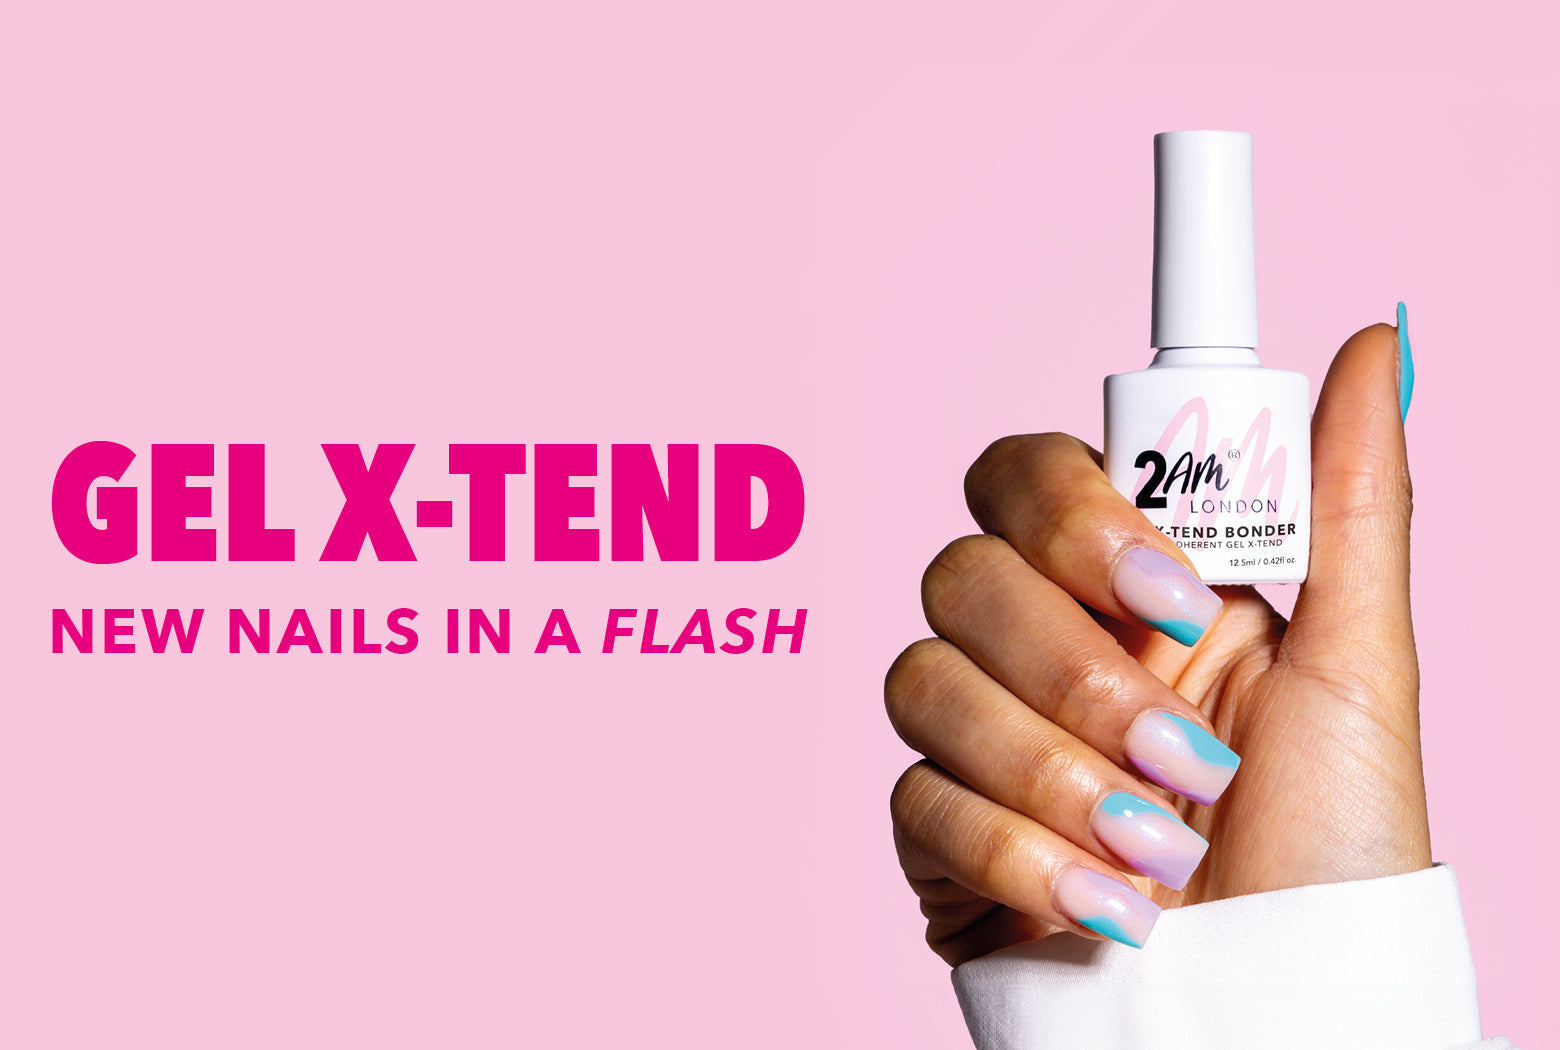
Pre-buffed and pre-shaped tips allowing you to create gel extensions in a fraction of the time. Using Gel X-Tend Bonder, set your manicure in a flash. Cure and then you're ready to go with a drop of colour. Gel X-Tend tips can be soaked off or infilled with Builder Gel.
HOW TO USE

HOW DO I APPLY GEL X-TEND
-
- Gently push back the cuticles and remove any non-living tissue using cuticle nippers or scissors. Ensure all of the cuticle area including the side walls are included, a clean nail plate free of non-living tissue is needed for maximum adhesion.
- Remove ALL visible free edges. Remove the free edge using a 180/200 file. File off any corners and leave around 2mm free edge. Leaving anymore will result in the incorrect fitting of the tip.
- Using a 180/200 file, gently remove the surface shine from the nail plate (do not over file). Ensure to pay attention to the entire nail, specifically the cuticle area and the side walls as these are important contact areas.
- Ensure all dust is removed prior to the next step - swipe over the nail with a nail cleanse/prep solution to remove all debris.
-
It is advisable to size all of the tips before moving to the next step, this will ensure you are fully prepared for the fitting process and that you will not contaminate the first base layer of gel.
- To size the tips:
Select a tip from the box. Sizes run from 0-11, 11 being the smallest and 0 being the largest. - Measure the size from sidewall to sidewall. The tip should not be shorter than the width of the nail or wider than the natural nail. The X-Tend tip should sit and run with the natural nail side wall grooves and extend out with the natural nails.
- If you are unable to find a tip that fits perfectly, select the nearest tip that is slightly larger and carefully remove from the side walls of the tip, until it fits perfectly. Ensure you file with the natural angle of the sidewall of the X-Tend tip to keep its shape.
To prep the tips:
- The tip is pre etched and does not need any further work. For extra strength. Lightly etch the sidewall and cuticle contact area on the inside of the tip.
- The free edge is shaped for you, however if you require the length shortening, do not do this until the tip is fitted and secured at the end of the service. If the cuticle area of your clients natural nail differs from the X-Tend tip, this can be refined with a 180 file before fitting.
- To size the tips:
-
You will need your normal curing lamp and the Flash Cure Gel X-Tend Lamp to complete this step. Please ensure your lamp is charged.
- Apply a thin layer of the Gel X-Tend Tip Bonder to the nail plate. Cure for 60 seconds.
- Ensure layer is thin.
- Ensure entire nail plate/contact area is covered.
- Avoid skin around the nail, if the product touches the skin, this will cause lifting Cure for 60 seconds.
- Remove from lamp and keep away from any dust.
- Repeat this for both hands.
-
You will need a slip/contact layer to help you fit the tip easily. This process will now need to be done 1 finger at a time, until the first hand is completed.
- Ensure your X-Tend lamp is on the desk next to you and set up for individual finger curing.
- Apply a thin coat of the Gel X-Tend Tip Bonder to the natural nail mirroring the base coat. DO NOT CURE.
- This will help the gel on the tip make a “connection” and make the fitting process easier.
- Take your tip and offload a small amount of X-Tend gel into the cuticle well of the tip. Use the brush to distribute along the cuticle area. The amount will depend on the size of the nail being fitted.
- Starting at the cuticle at a 45-degree angle apply gentle even pressure until the hollow of the tip is filled with gel and there are no gaps or air bubbles present.
- No gel should seep from the sides/cuticle/underside of the tip
- Move under then X-Tend lamp to fix for 10-15 secs to secure in place
- Transfer to lamp for further 10 seconds then continue onto next finger
- Once one hand is complete, cure fully for 60 seconds
- Repeat on 2nd hand
-
- Using a buffer, gently remove the shine from the tips surface and smooth out any sharp edges. This will ensure your gel polish adheres.
- If you need to refine the length, use a 180 file and file to desired shape.
- Refine the sidewalls with a 180 file if required.
-
- Take a 180 file and remove any gel polish and file lightly into the Gel X-Tend tip.
- Take down the tip length with a 180 grit file.
- Soak a removal wrap in acetone and wrap tightly.
- Leave for 10-20 minutes, this will vary dependent on environmental factors.
- Remove debris with an orange wood stick.
- Apply more acetone and re-wrap if product remains until all product is removed.
- Gently buff off any remaining product from the nail plate, and cleanse with nail wipe.
- Avoid over-buffing the nail plate as damage will be caused.
- Reapply a new set of Gel X-Tend if required.
GEL X-TEND ESSENTIALS
Shop the full collection
Frequently Asked Questions
Got a question on Gel X-Tend? We've got you covered!
-
Yes. Gel X-Tend can be used on most lengths of natural nail bed. However, do not fit very long nails onto a short nail bed. There isn't enough surface area to ensure maximum adhesion and they will pop off!
Always make sure the length of the tip you use is relevant to the size of the client's natural nail bed.
The exception to this are severe nail biters, they will need to grow some length before a Gel X-Tend top can be fitted successfully.
-
No. Gel X-Tend are part of a system, and should only be fitted with the X-Tend Bonder gel for best results.
Gel X-Tend tops are made from a soft gel and need gel-to-gel adhesion to work correctly and give you the best results.
-
If fitted correctly, Gel X-Tend should last for 2-3 weeks.
-
Yes. You can adjust the length of your Gel X-Tend tips using a 180-grit nail file. This is only to be done once fitted to the finger, this will provide stability and will allow you to file to the correct desired length with ease.
However, Gel X-Tend is available in short sizes too so there are perfect sizes in the range for you to choose from.
-
This is not advisable. Before applying any gel-based colour over your Gel X-Tend, please buff the surface with a soft buffer to remove the shine.
Ensure all dust is removed before painting. Not removing surface shine will result in gel chipping and peeling.
-
No. If the surface is buffed, gel colour will adhere directly to the Gel X-Tend tip. There is no need for an additional basecoat.
-
Yes. Gel X-Tend can be infilled with the 2AM Builder Gel. Please ensure you are qualified to perform infills before doing so. However they are so easy to soak off, a fresh set can be applied quickly and easily.
-
Yes, Gel X-Tend soak off in around 10-20 minutes. Ensure all gel polish is removed before soaking. Soak for the recommended time.
-
There are many reasons why this might happen:
- Incorrect prep of the natural nail - Not prepping the natural nail can lead to listing and loss of tips. The surface needs to be clean, etched, dry and free from debris or non-living tissue. Return to your prep process and ensure each step is being carried out.
- Too much product used - Applying the Gel X-Tend Bonder too thickly can cause under-curing. Go back to thinner layers and a smaller amount of product on the X-Tend tip before fitting.
- Too little product used - Getting product amounts correct can take practice. There should be no air bubbles or gaps underneath the Gel X-Tend tips. If there is, this will cause lifting.
- Product applied to the skin - Any product touching the skin around the nail will affect the longevity of your Gel X-Tend tips and lead to lift and loss. It can also lead to allergic reactions.
- Lamp not curing - Check the bulbs in your gel curing lamp. Over time LED bulbs will lose strength. Replace your lamp if you have any doubts.
- Check client's hand placement. Ensure the client's hand is sat in the lamp correctly.
- Ensure you are curing for the correct time advised.
- Tip selected was too small for the natural nail size. Ensure tip fitting is correct. Do not force/squeeze the tip to fit the nail place when sizing. The tip should sit naturally on the nail plate, without any pressure.
- Aftercare - Check that the correct aftercare is being adhered to prior to service. Failure to adhere to correct aftercare will result in breakdown of service.
- Irregular maintenance - If any nail covering is left on too long this can lead to breakdown of service and loss of enhancement. Ensure nails are removed and or infilled within 3-4 weeks maximum to ensure the service lasts and the integrity of the natural nail is maintained.
-
A primer can be used with Gel X-Tend if the client's nails require it. We recommend 2AM Main Link Powerbond Primer.
-
There are several reasons why this is happening:
- You are using too much product.
- You are applying too much pressure when applying the tip, squeezing the gel out, you must lower the tip gently with an even pressure to the well fills with gel but does not spill out.
- You are moving the tip before it reaches the Flash Cure UV/LED Lamp. Once in place, the nail needs to be placed under the Flash Cure Lamp. Ensure your lamp is charged and ready before you start the tip application process.
- Avoid ANY contact with skin. Use an orange wood stick to clean away any wet gel on the skin before curing. Do not cure if X-Tend Gel is on the skin.
-
There are many reasons why you may have an issue whilst soaking:
- You did not apply enough acetone to your soak pad. Acetone is needed to break through the material of the tip.
- Your nails were not wrapped tight enough, causing the acetone to evaporate before removal was complete. Ensure the removal wrap is tight on the finger.
- You have not removed the gel polish from the tip. The more product you leave on the X-Tend tip, the longer and more difficult the soak will be.
- Allow the soaks to stay on for the allotted time, do not try to rush the process.
- Reapply acetone and rewrap if required.
-
No, builder gel is not suitable for the adhesion of these tips. The gel required is a more flexible gel, applying builder will cause these tips to pop off, leaving the builder gel on the nail. Please use Gel X-Tend Bonder for best results.


